Welcome to our guide on personalizing clipart! In this article, we will delve into various techniques and creative ideas to help you use clipart in ways that are unique, engaging, and perfectly aligned with your project’s needs. Whether you’re a crafter, graphic designer, educator, or small business owner, these tips will help you turn ordinary clipart into extraordinary creations.
Understanding Personalizing Clipart
Personalizing Clipart is all about making pre-made images work for your specific project. The goal is to transform standard clipart into something that feels personal and unique. We’ll explore several techniques to achieve this, including color adjustments, layering, and text integration.

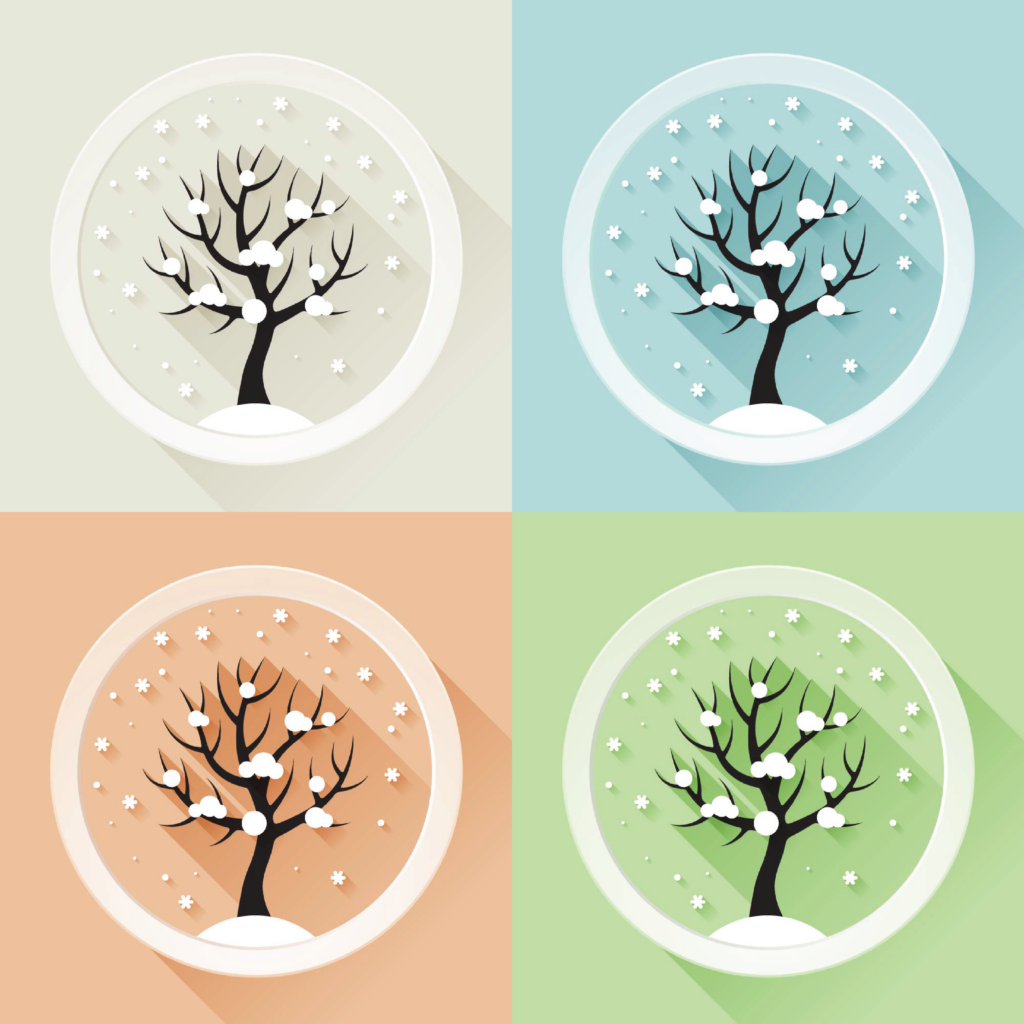
Color Adjustments: Harmonizing with Your Color Scheme
Colors play a crucial role in design. By adjusting the colors of clipart, you can ensure they harmonize with your project’s color scheme.
Step-by-Step Guide to Color Adjustments
- Software Selection: Choose a graphic design software that allows easy color manipulation, like Adobe Photoshop or GIMP.
- Color Matching: Use the color picker tool to select colors from your project and apply them to the clipart.
- Contrast and Brightness: Adjust these settings to make your clipart blend seamlessly with your design.
Real-Life Applications
- Brand Consistency: Ensure your marketing materials use brand-specific colors, even in clipart.
- Thematic Alignment: For thematic projects, like seasonal decorations, adjust clipart colors to match the season’s palette.

Layering and Combining Clipart for Unique Compositions
Layering and combining different pieces of clipart can result in a completely unique design.
Techniques for Effective Layering
- Understanding Layers: Learn how to use layers in your design software to place different clipart elements over each other.
- Scale and Rotate: Adjust the size and orientation of clipart pieces to create dynamic compositions.
Creative Layering Ideas
- Scene Creation: Combine various clipart elements to create a detailed scene, like a winter landscape for a December-themed project.
- Mix and Match: Use parts of different clipart to create a new, unique image, like merging different animals or objects.

Adding Text to Clipart
Integrating text with your clipart can convey messages more powerfully and personalize your design.
Tips for Text Integration
- Font Selection: Choose a font that complements the style of your clipart.
- Placement: Find the perfect spot for your text where it’s readable yet integrates well with the clipart.
Text Integration Examples
- Event Invitations: Add event details to clipart-based invitations for a personal touch.
- Educational Materials: Combine instructional text with educational clipart to make learning more engaging.

Photo-Clipart Fusion: Merging Real with Digital
Blending clipart with personal photos can create a unique and engaging effect.
How to Fuse Photos with Clipart
- Photo Selection: Choose a photo that complements the clipart, both in theme and color.
- Blending Techniques: Use software tools to blend edges and adjust opacity, creating a seamless fusion.
Fusion Project Ideas
- Personalized Greetings: Create custom greeting cards by merging family photos with festive clipart.
- Business Promotions: Combine product photos with clipart for creative advertisements.
Through these tips and techniques, you can transform ordinary clipart into personalized clipart creations that resonate with your audience and align with your project goals. Remember, the key to successful clipart customization lies in creativity, experimentation, and a keen eye for design. So go ahead, explore these ideas, and let your creativity shine through your projects!
Visit our Blog Post : Harnessing the Versatility of Clipart Vector Illustrations: A Guide for Parents and Educators


